Winter can bring harsh winds, heavy snow, and icy temperatures, which seriously strain your roof, the first line of defense for your home. Without the right preparation, winter roofing issues like ice dams, leaks, and damage can disrupt your comfort and lead to costly repairs.
The good news!
Preparing your roof for winter doesn’t have to be overwhelming. With the right approach and winter roof maintenance checklist, you can ensure your home stays cozy and secure all season long.
Preparing Your Roof for Winter A Complete Guide
Why Is Winter Roof Maintenance Important?
Winter is tough on roofs, especially when they aren’t prepared to handle the cold. Preparing your roof for winter reduces the risk of problems like leaks, ice dams, and structural damage. By following a winter roof maintenance checklist, you’re proactively protecting both your roof and your home’s interior, ensuring that you and your family stay warm and dry.
Essential Steps to Prepare Your Roof for Winter
1. Clear Debris from the Roof and Gutters
Leaves, branches, and other debris can collect on your roof and in your gutters over the year. When winter arrives, any leftover debris can trap moisture, which can freeze, thaw, and lead to significant water damage. Clogged gutters prevent melting snow from draining properly, causing ice dams, which increase the risk of leaks and structural damage.
- Tip: Safely remove debris using tools like a leaf blower, or hire a professional to ensure the job is done safely and thoroughly. Debris removal should be done before the first snowfall to prevent buildup.
2. Inspect and Repair Shingles
Shingles act as a protective layer for your roof, preventing water from seeping into your home. Winter weather can exacerbate damage to loose, cracked, or curling shingles, making it critical to inspect and repair them ahead of time. Damaged shingles allow moisture to infiltrate, which can cause leaks, mold growth, and damage to your home’s interior.
- Action Steps:
- Conduct a close inspection of the entire roof surface, looking for any shingles that are cracked, curled, or missing granules.
- Replace damaged or missing shingles promptly. If you notice granules collecting in gutters, consider it a warning sign of shingle wear, which may warrant a professional inspection.
- Pro Tip: For minor repairs, you can use roofing adhesive to re-secure loose shingles.
3. Check Roof Flashing and Seals
Flashing is a thin metal material installed around roof features like chimneys, skylights, and vents to create a watertight seal. When flashing is damaged, water can easily seep in and create leaks, leading to mold, mildew, and even structural issues within your roof and attic.
- Maintenance Tips:
- Examine flashing for rust, warping, or gaps around joints. If the flashing appears loose, apply roofing caulk or sealant to secure it.
- For more extensive damage, hire a roofing professional to replace or repair flashing, as improper sealing can lead to further issues during winter storms and freeze-thaw cycles.
4. Insulate and Ventilate the Attic Properly
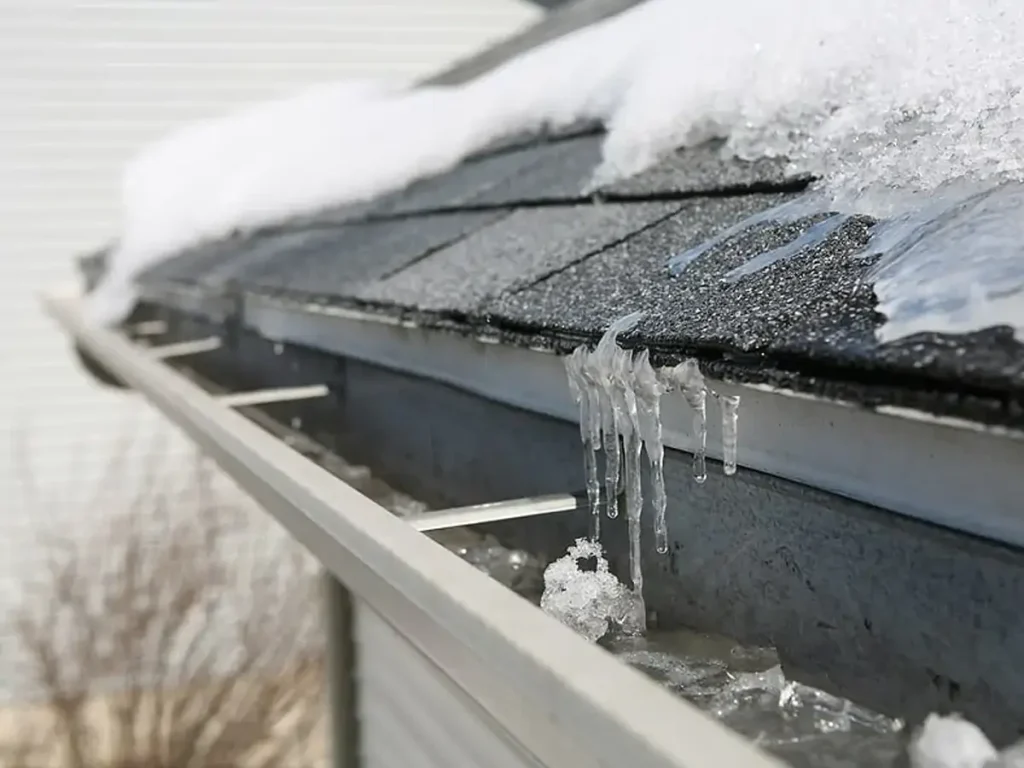
A well-insulated and ventilated attic is crucial to maintain a consistent temperature on your roof. This prevents the formation of ice dams, which occur when warm air from your home melts snow on the roof. The melted snow then refreezes at the roof’s edge, causing a dam that traps water, which can seep under shingles.
- Steps for Proper Insulation and Ventilation:
- Inspect attic insulation to ensure it’s adequate and evenly distributed. Adding extra insulation in poorly insulated areas can significantly improve energy efficiency and reduce heat loss.
- Check your attic’s ventilation system, including vents and fans, to ensure they are functioning correctly. Proper airflow in the attic helps to regulate temperatures, minimizing the likelihood of ice dams and condensation buildup.
5. Examine Roof Support Structures
Heavy snow and ice can put significant pressure on your roof’s support system, especially in areas prone to heavy snowfall. Checking for signs of structural weakness can prevent potential damage during the winter months.
- Signs to Look For:
- Sagging or uneven roof sections, which can indicate structural stress.
- Cracks in the walls or ceiling of your attic.
- Moisture or rot in wooden beams. If you notice any of these signs, contact a roofing professional to evaluate and address the issue.
- Reinforce the roof with additional support if necessary, especially in older homes or regions with severe winters.
6. Add Protective Roof Coatings (If Needed)
A weatherproof roof coating adds an extra layer of defense against moisture. This step is optional but highly beneficial in areas with severe winter weather.
- Types of Coatings:
- Acrylic Coatings: Provide UV protection and help prevent damage from fluctuating temperatures.
- Silicone Coatings: Highly resistant to ponding water, making them an ideal choice for areas that experience heavy snow and rain.
- Consult a roofing contractor to determine if a coating is right for your roof, as not all materials are suitable for coatings.
7. Plan for Snow Removal
Excessive snow can weigh down your roof, causing stress on the structure, especially on older roofs or homes with weaker framing. Snow removal is essential for reducing the risk of collapse, leaks, and ice dams.
- Tips for Safe Snow Removal:
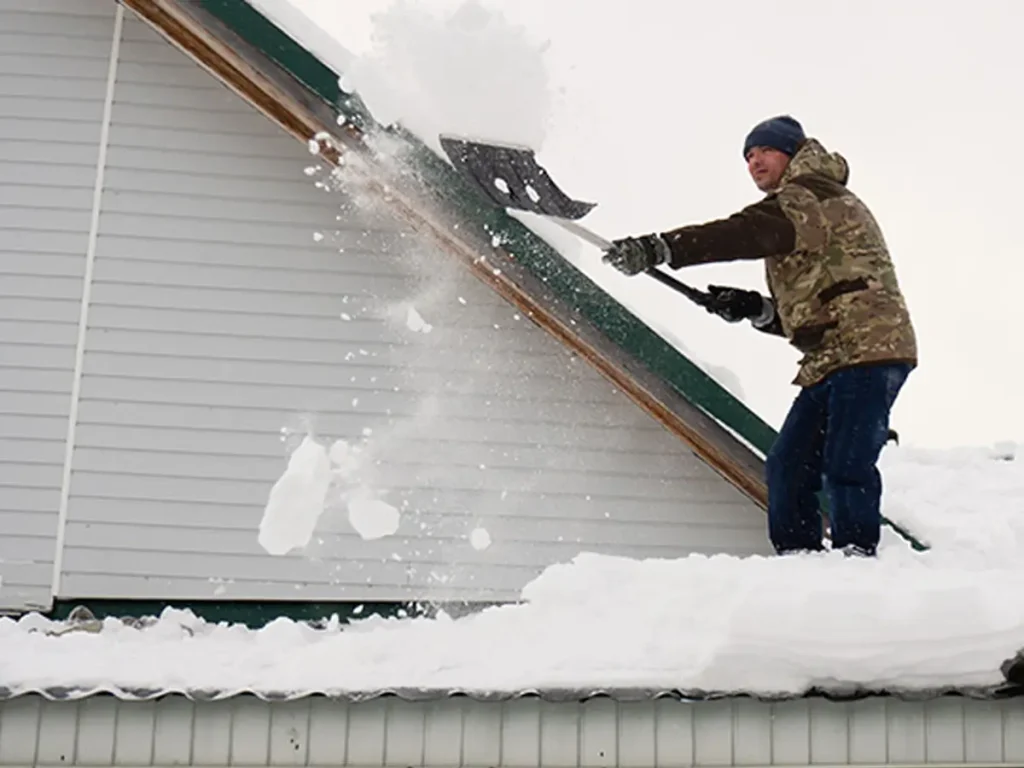
- Use a roof rake specifically designed for snow removal to avoid damaging shingles.
- For deeper snow, consider hiring a professional to remove it safely, as climbing onto a roof in snowy conditions can be dangerous.
- Make sure to remove snow evenly to prevent uneven pressure on the roof.
8. Examine Gutters and Downspouts
Your gutters and downspouts play a key role in directing melted snow and rain away from your home. When they’re clogged or misaligned, water can back up and lead to ice dams, leaks, and structural damage.
- Maintenance Tips:
- Clear out any debris from gutters and downspouts to ensure a clear path for water drainage.
- Consider adding gutter guards to help prevent buildup.
- Check for proper alignment and stability, ensuring downspouts direct water away from your foundation.
9. Trim Overhanging Branches
Overhanging tree branches can be a hazard during winter storms, especially if they’re weighed down by snow and ice. Trimming branches away from your roof prevents them from scraping the roof surface or breaking and causing damage.
- Action Steps:
- Trim back any branches that are close enough to touch or hover over the roof.
- Maintain a safe distance between tree limbs and your roof to reduce the risk of damage during winter storms.
10. Consider a Professional Roof Inspection
A professional roof inspection is a wise investment to ensure all potential issues are addressed before winter hits. Roofing professionals have the experience and tools to identify issues that may not be visible to the untrained eye, ensuring your roof is fully prepared for winter.
- Benefits of a Professional Inspection:
- Detects minor issues that may otherwise go unnoticed.
- Provides peace of mind knowing your roof is winter-ready.
- Offers recommendations for any additional repairs or maintenance to ensure maximum durability through the winter.
Sustainable Roofing Practices
Using sustainable roofing practices, such as installing a durable and eco-friendly roofing material, can significantly enhance your home’s resilience against winter weather while reducing your environmental footprint.
Winter Roof Maintenance Checklist
- Clear gutters and roof of debris.
- Inspect and repair damaged shingles.
- Check flashing and seals.
- Insulate and ventilate the attic.
- Assess roof support structure.
- Apply protective roof coatings (optional).
- Plan for regular snow removal, if needed.
Keeping this winter roof maintenance checklist handy will ensure your roof is ready for any winter weather.
Preparing for Unexpected Winter Roof Problems
Winter can create sudden issues that even the best maintenance can’t fully prevent. Here’s how to handle potential problems:
- Ice Dams: Use heated cables along the eaves to help snow melt evenly. Avoid using a hammer to break ice as it can damage shingles.
- Leaks: Keep emergency repair materials like tarps and roofing cement handy.
- Heavy Snowfall: Plan for snow removal to prevent weight-related damage.
Conclusion
Preparing your roof for winter is essential to avoid unexpected and costly repairs caused by cold weather. By following this winter roof maintenance checklist, you can protect your roof and keep your home warm and safe. Take action now to repair any issues, properly insulate your attic, and clean your gutters to ensure your roof is ready to handle the winter’s toughest weather.
If winter roofing issues arise, remember that professional help is available. Prepare now, stay safe, and enjoy a cozy, worry-free winter season!
FAQs
How to prepare your roof for winter?
To prepare your roof for winter, clear it of debris, check and repair shingles, inspect flashing and seals, and ensure proper attic insulation. Following a winter roof maintenance checklist will help ensure your roof stays strong through the cold months.
What temperature is too cold for roofing?
Roofing in cold weather, typically below 40°F, can be risky. Cold temperatures make shingles brittle and harder to install correctly. If you need roofing repairs or replacements in winter, hiring an experienced professional with the right tools is essential.
How to prepare your roof for a storm?
Clear gutters, check roof shingles and flashing, and secure loose items around your roof before a storm. Consider installing stormproof roof features if you live in a high-storm area.
Should I rake my roof in the winter?
Yes, it’s helpful to rake your roof to remove heavy snow, especially if you experience frequent snowstorms. Snow rakes prevent ice dam formation and reduce strain on the roof’s support structures.